“Red, white or pink” VSC Challenge #31

Good morning and welcome to a new challenge. This month we will be focusing on three colors. For my card I used my new “Coffee Break” stamp set and some new embellishemts. I watercolored the image using my peerless watercolors and then embossed the sentiment with opaque red embossing powder. I then added a few metal red hearts to the card. The hearts and stamp set can be purchased at the shop.

(null)

(null)

Now head on over to our challenge blog and check out what our DT has created then don’t forget to add your project for a chance to win $10 off my shop. Thanks for stopping by and happy crafting!

V’s Sweet Blog Hop! New Stamp release!

Hello crafters! Vanessa here with a blog hop giveaway!  We will be showcasing our new clear photopolymer stamp set for the month. We will have lots of great projects and will be also doing a giveaway! Please join in on the fun for your chance to win a stamp set!

IMG_3553IMG_3556 IMG_3555 IMG_3554IMG_3558 IMG_3557

Two winners will be chosen from comments all along the hop. Winners will receive the stamp set “Coffee Break” and a few other goodies.

Here are the details:

1. Two winners will be chosen from comments all along the hop. Winners will receive the new Coffee Break stamp set.

2. Deadline: You have until midnight EST on Thursday, January 22nd to leave a comment.

3. Please check V’s Sweet Ideas Blog on Friday, January 23rd to see if you are a lucky winner.

You have reached the end of the blog list. Thank You!!!!

Here is the full hop order:

Karen

            Sierra (GDT)

                             Vanessa (V’s Sweet Ideas)

Bokeh Effect Technique

Hi! I am back with another card I would like to share with you. I have been seeing this new technique called the Bokeh effect and as a photographer I am familiar with the term but just recently learned how to incorporate it into card making. I headed over to YOUTUBE to check out a few ways people have tried this technique and decided to try it out. So the first thing I did was take a piece of watercolor paper (cut down to 4.25 by 5.5) and saturated the card with water. I then used my peerless watercolors to make a background. The next step is to add the circles which is what will give the Bokeh effect. To stamp the circles I cut a piece of acetate paper using my circle spellbinders. I then used this as a stencil. Since I didn’t have white ink I used what I had in hand which was white acrylic paint. So for the larger circles I used less paint and as the circles got smaller I used more paint and that is how to create that effect. I then cut out a digi image from A Day for Daisies (I loveeee these stamps) and used one of there new fairy stamp release. I added some new mini sequins, moonshine sequins and star sequins(sequins coming soon to the shop) on the card near her wand so as to look like it’s coming out of it. The sentiment is from a papertrey ink stamp set I had and voila here is the card…..

IMG_3422

Thank you for stopping by and Happy Crafting!!!

“Something New” VSC #30 Challenge

Hi everyone!!!! Happy New year!!!!! I am really really late with my posting and I am so sorry. Well it’s time for our first challenge of the year over at our challenge blog. Our theme for our challenge is “something new”. Did anyone receive some christmas crafty goodies from santa? Or did you get something new for the New Year? Well we want to see your projects by linking them up to our new challenge. Our winner will receive a $10 gift cert. to the shop. Well my new goodies that I used were my peerless watercolors and the star sequins. I really love how watercolor looks on a card. I used my “Birthday wish” stamp set for this card. It is a simple and fun card to make to hold those gift cards. You can purchase the stamp set here and the star sequins here.

IMG_3326-2BirthdayWish Photo

Head on over to the challenge blog for more inspiration from our super talented DT. Thanks for stopping by!

“Holiday Theme” VSC Challenge #29

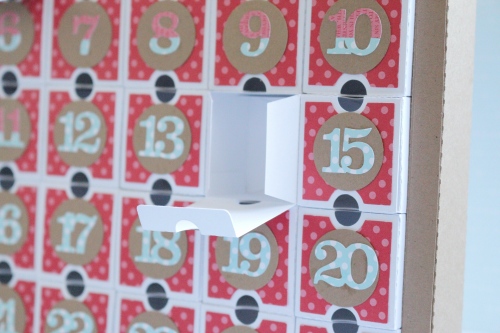
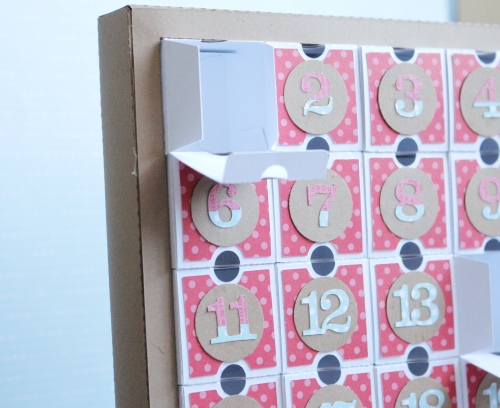
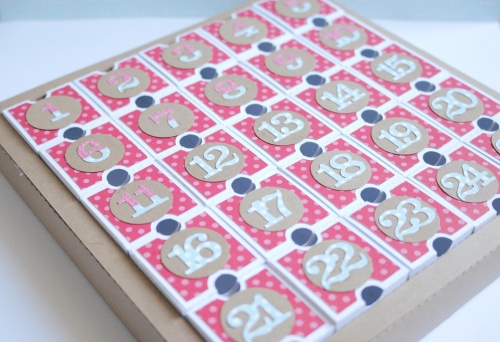
Good morning crafters! It’s December 1st so that means a new challenge over at V’s Sweet challenge. Woohoo!! I just love this holiday season. I have been able to complete a lot of my projects that I had planned like my December Daily and my very first advent calendar (more info on that in the last post). I also want to try to do a Holiday card series starting today. Lets see how that goes. Anyways, I have two cards to share with you today and both use my “Christmas Cheer” stamp which is currently available as a digital download but I will have a clear set version available for purchase this week. yay!!! I am very excited about that.

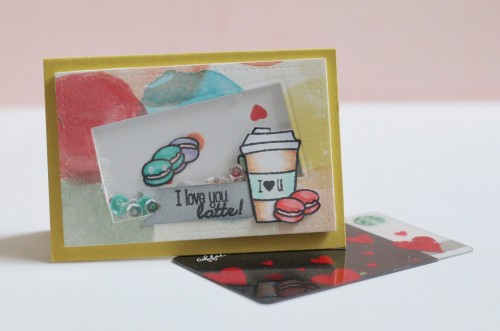
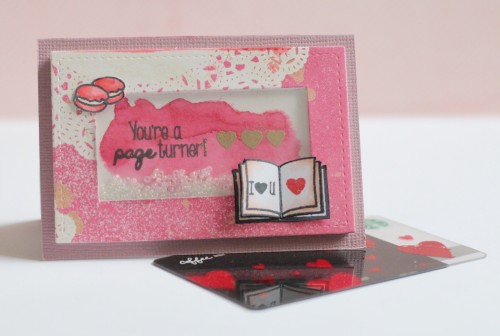
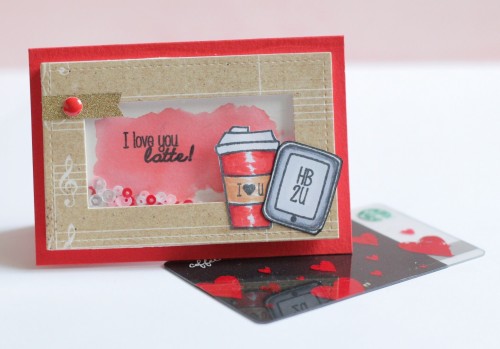
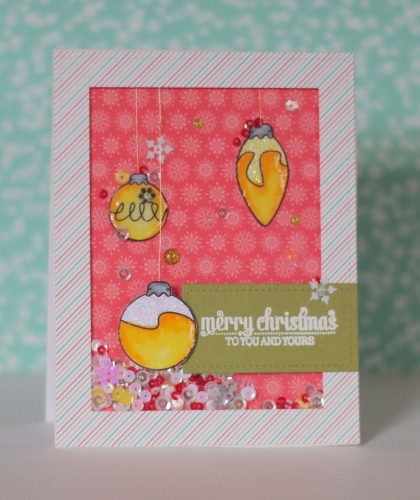
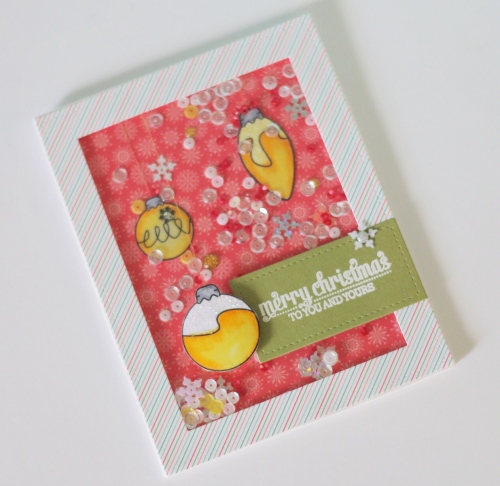
So for card one I decided to try out a shaker card using foam sheets instead of my usual way which was with foam adhesive tape (which is way more expensive). I used the stitched rectangle dies from Lawn Fawn and added some sequins which is available for purchase in my shop. I colored in the ornaments with copic markers and then added glossy accents and glitter.

IMG_2205

IMG_2207

For my second card I used one of the ornament stamps as a pattern and heat embossed it with gold embossing powder. I then cut out some snowflake’s using a spellbinder die. I die cut the word greetings with my silhouette and then heat embossed it with some gold embossing powder.IMG_2208

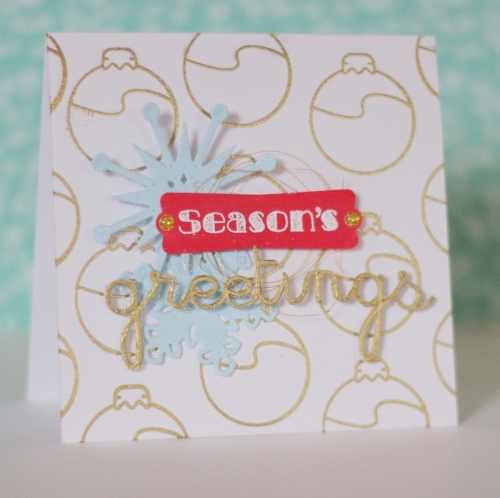
Well I hope you like my cards and would love for you all to join in on our December challenge for a chance to win a $10 gift certificate to the shop. Thank you and Happy Crafting!

Advent Calendar

Hello crafters!!! Wow holidays are approaching fast and of course I decided to take on a few projects like Dec daily and an advent calendar ( I blame Nicole for all of this). The good thing is that I am doing pretty good with timing(First time!) I usually wait till the last minute to do stuff and then I either do not finish it or just lose to mojo to do it.

So this year I decided to do an advent calendar after Nicole showed me hers. I couldn’t decide what kind of calendar to do and after searching through the silhouette online store I found the perfect cut file by Lori Whitlock. Now the cut file is for a 12×12 machine but I ended up resizing it to about 8×8 and I am perfectly fine with that size.

So here is my plan. I am going to buy a small lego set and then put the pieces in all 25 boxes so that way my son can built the set little by little. I will include just the instructions needed to put together the pieces for that date. Hopefully my son will enjoy it.

Well thank you for stopping by and happy crafting!!

IMG_1833 IMG_1834 IMG_1835 IMG_1839